Step-by-Step Guide to Designing Custom Kraft Boxes
By Sofia Max
40 Views
Kraft boxes have become a popular choice for brands that want simple, natural, and eco-friendly packaging. Their earthy look and recyclable material make them ideal for modern businesses focused on sustainability and clean design.
Designing custom kraft boxes does not have to be complicated. With a clear process, you can create packaging that looks good, protects your product, and reflects your brand.
Step 1: Understand Your Product Requirements
Start by knowing exactly what you are packaging. The size, shape, and weight of your product will guide every design decision.
Consider:
- Product dimensions and weight
- Fragility and protection needs
- Storage and shipping conditions
- Quantity per box
A good design always starts with function.
Step 2: Choose the Right Kraft Material
Kraft packaging comes in different thicknesses and types. Choosing the right one ensures durability and presentation.
Common options include:
- Standard kraft paperboard for lightweight items
- Corrugated kraft for shipping and protection
- Rigid kraft for premium packaging
Material choice affects both strength and cost.
Step 3: Select the Box Style
The structure of the box depends on how the product will be used and presented.
Popular styles include:
- Tuck-end boxes for retail packaging
- Mailer boxes for e-commerce
- Gable boxes for takeaway or gifts
- Drawer-style boxes for premium products
Pick a style that fits both function and branding.
Step 4: Plan the Box Dimensions
Accurate sizing is essential for both protection and cost efficiency.
Make sure to:
- Leave enough space for product placement
- Avoid too much empty space
- Consider inserts if needed
- Optimize size for shipping efficiency
Well-sized boxes reduce material waste and shipping costs.
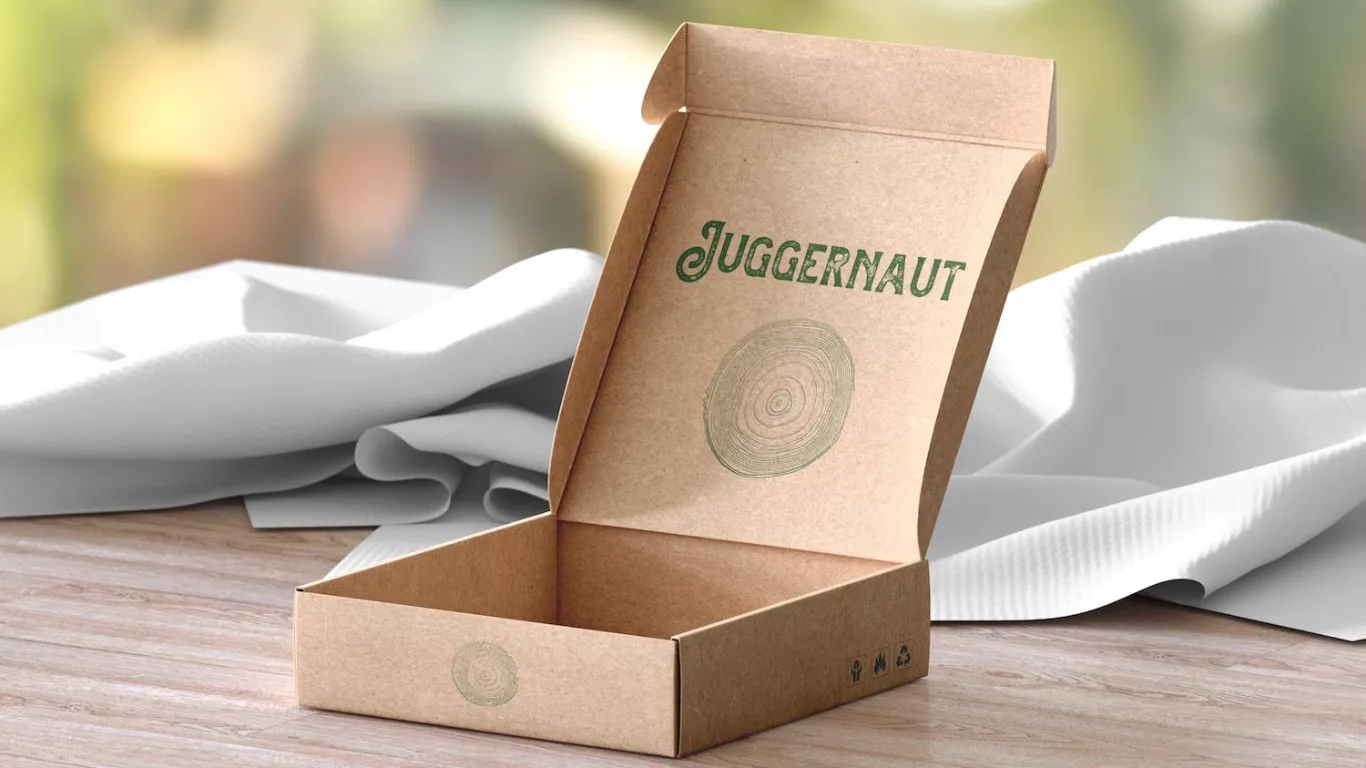
Step 5: Design Your Branding Elements
Kraft boxes often rely on simple, clean branding. The natural brown surface works best with minimal design.
Focus on:
- Logo placement
- Brand colors that contrast with kraft brown
- Clear and readable typography
- Consistent design across products
Simple designs often look more premium on kraft material.
Step 6: Choose Printing Techniques
Printing on kraft is different from white packaging because the base color affects the final look.
Popular printing options include:
- Black or dark ink for strong contrast
- White ink for a clean and modern look
- Minimal color printing for cost efficiency
- Screen or digital printing methods
Test prints are helpful before final production.
Step 7: Add Functional Features
Think about how the box will be used by the customer.
You can include:
- Easy-open flaps
- Die-cut windows for product visibility
- Inserts for product protection
- Handles for portability
Functionality improves user experience.
Step 8: Consider Eco-Friendly Design Choices
Kraft packaging is already eco-friendly, but you can enhance sustainability further.
Options include:
- Using recyclable and biodegradable materials
- Avoiding plastic coatings
- Minimizing ink usage
- Designing for reuse
These choices strengthen your brand image.
Step 9: Prototype and Test
Before full production, create a sample box to test design and functionality.
Check for:
- Proper fit and structure
- Print quality and alignment
- Durability during handling
- Overall appearance
Testing prevents costly mistakes.
Step 10: Finalize and Produce
Once everything is tested and approved, move to bulk production.
Make sure to:
- Confirm final design files
- Choose a reliable manufacturer
- Order in quantities that fit your budget
- Plan for future scaling
Production is smoother when everything is planned.
Final Thoughts
Designing custom kraft boxes is about balancing simplicity, function, and branding. With the right approach, you can create packaging that looks natural, protects your product, and connects with modern customers.
Kraft packaging proves that you don’t need complex designs to stand out. Sometimes, simple and sustainable is the strongest statement a brand can make.